
#30DaysWild - crafting with nature

It's 30 Days Wild, the month of nature activities and wildlife activism organised by The Wildlife Trusts. During June, we are encouraged to do one 'random act of wildness' each day, whether that's something as complex as building hedgehog houses or digging ponds, to something as simple and peaceful as having breakfast outside or watching a wild webcam.


The event gives us lots of opportunities for some wild crafting! Here's a rundown of wild crafty activities to do with kids - but there's many more on my 30 Days Wild Pinterest board - have a look!


Leaf painting/rubbing

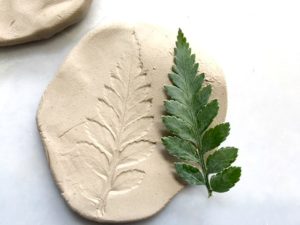
Leaves can be used in so many different ways to create artworks - place them under paper and rub with crayons for an imprint, cover them in paint or felt-tips and press onto paper, arrange them in a collage, use them as the skirts for a woodland fairy, or imprint them into clay or salt dough!


Sticks


Sticks have so many potential uses! They can become paintbrushes, magic wands, picture frames, weaving frames, rafts, wind chimes or mobiles!


Rocks, stones and pebbles
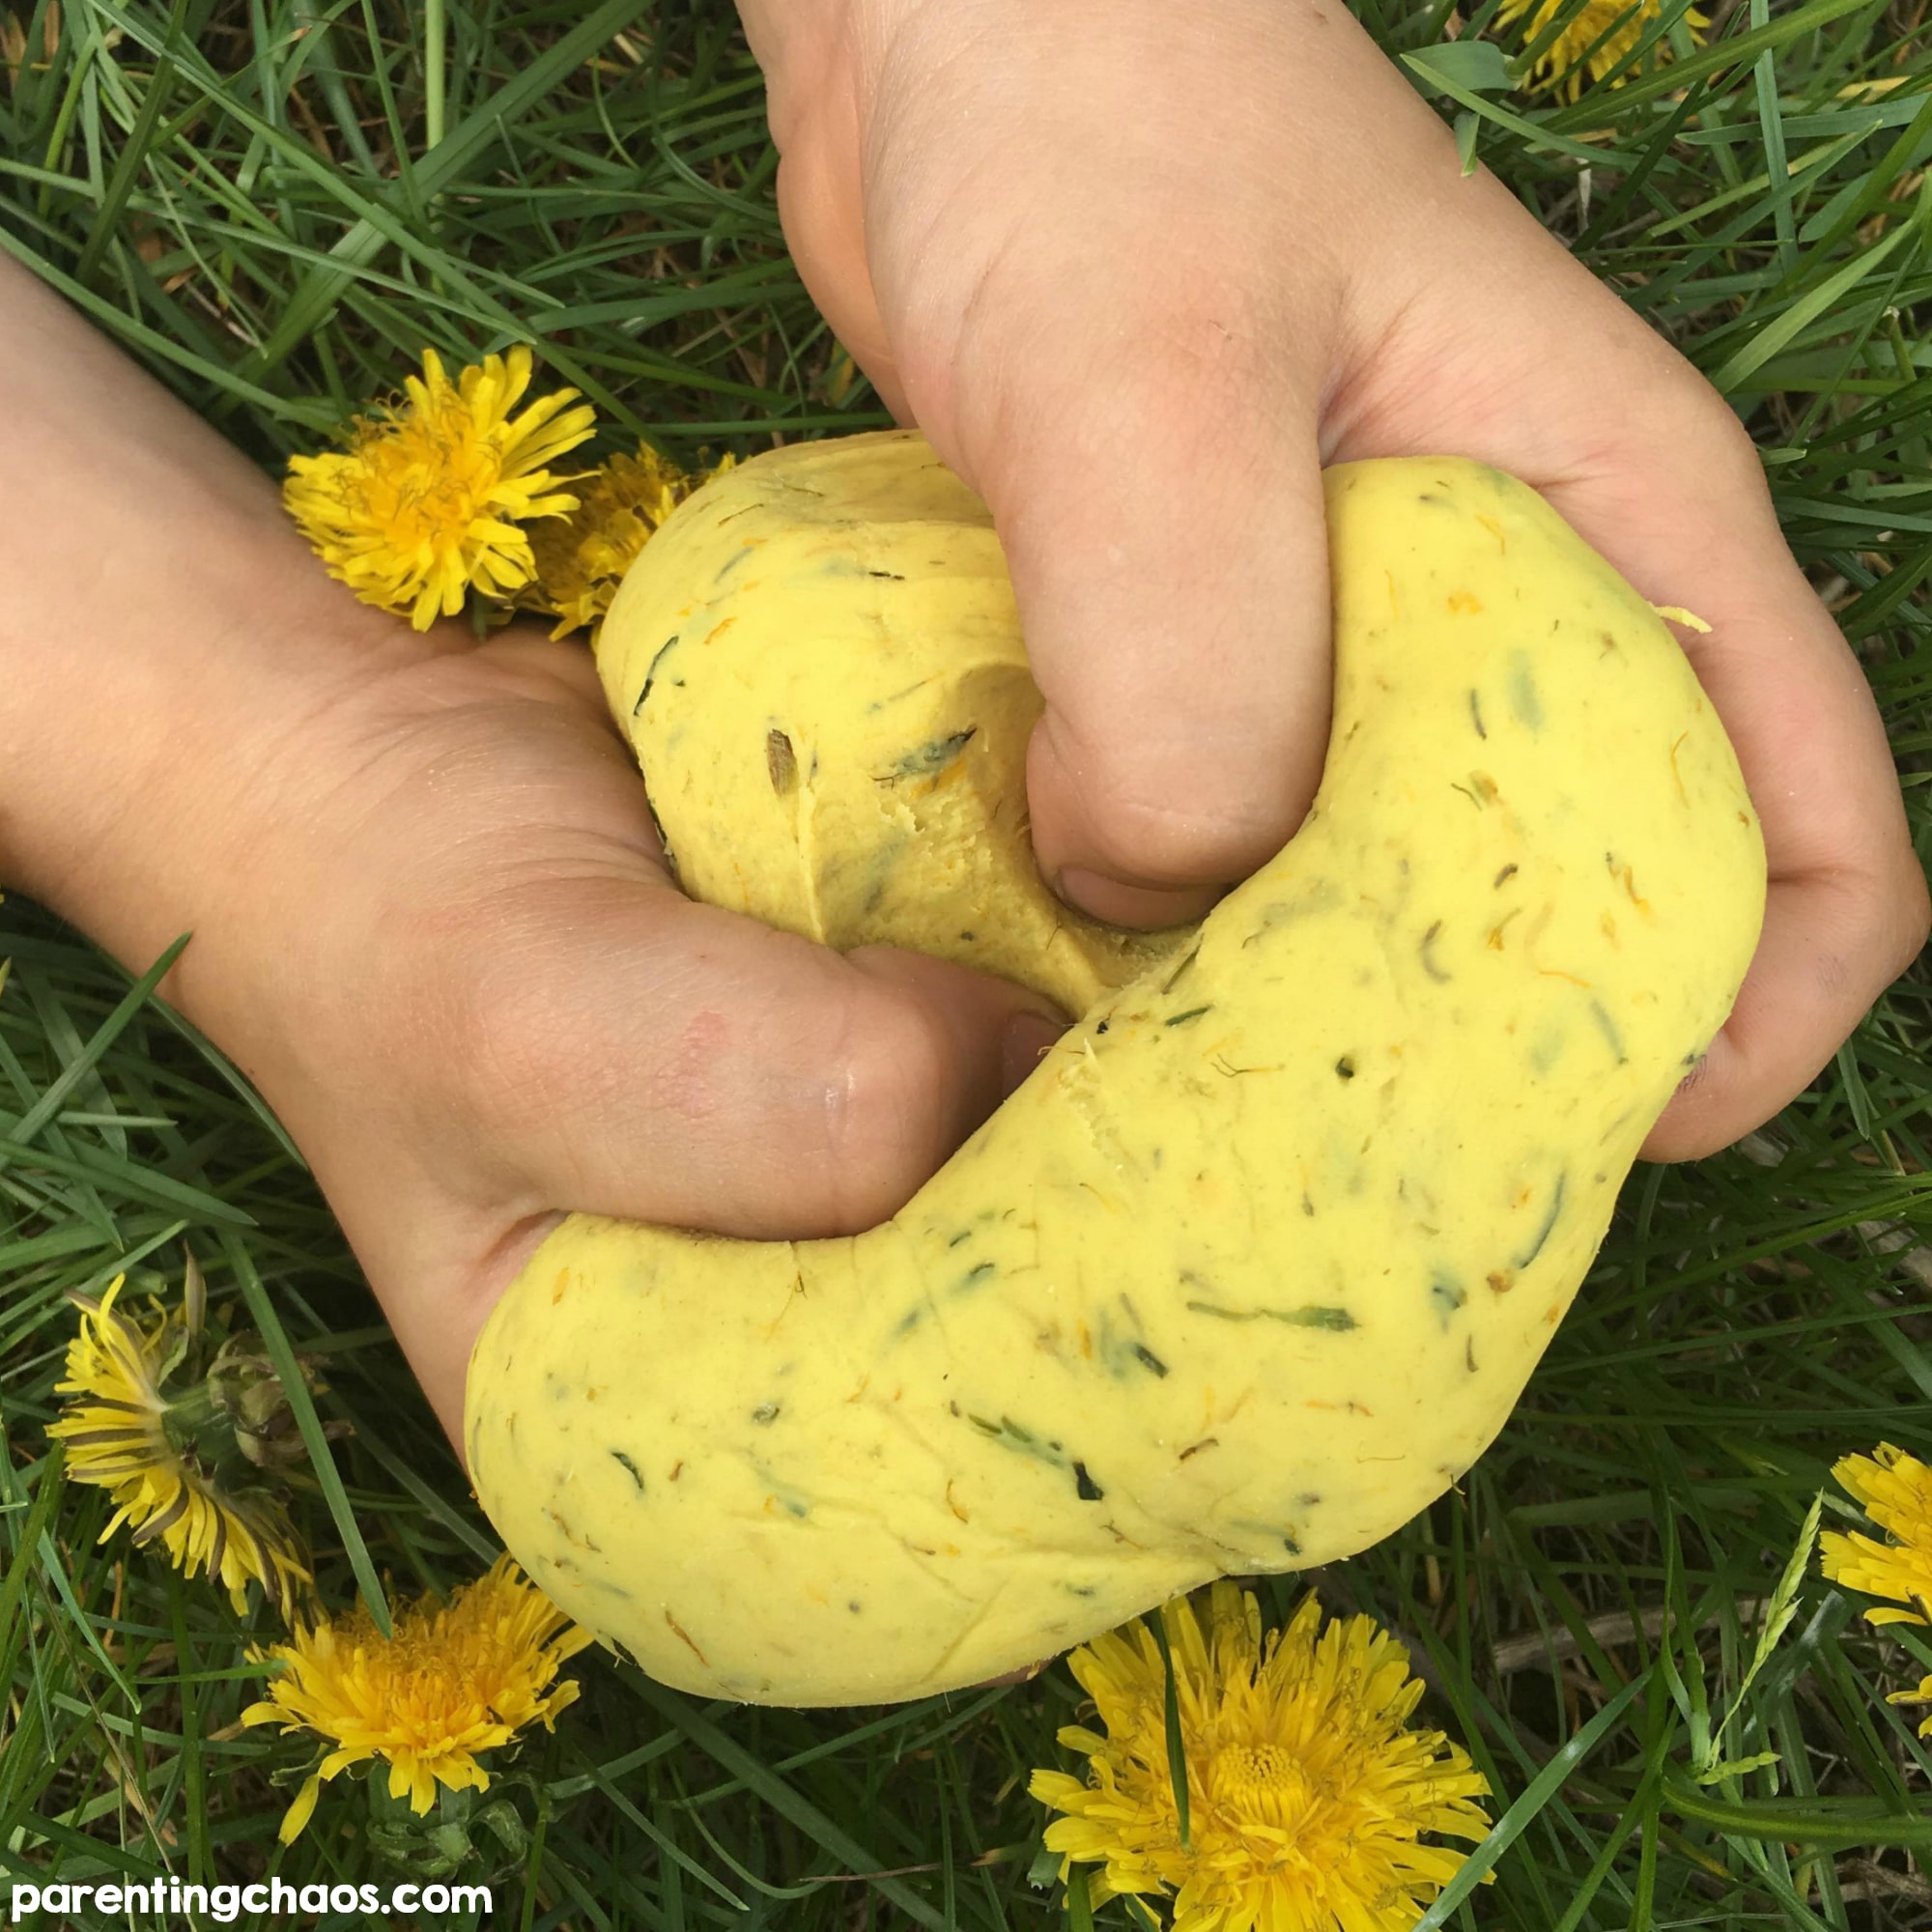

Arrange them in a pattern, pile them up, paint them and hide them, paint them and turn them into tic-tac-toe games, paint them and make story stones, impress them into salt dough or modelling clay.


Playdough


Make your own playdough and use natural materials to dye and scent it!


Two Words: MUD PAINT


LINKS


Leaf imprint from http://mybrightideasblog.com/natural-craft-perfect-earthday-activity-super-easy/ 

Rainbow wind chimes from https://happyhooligans.ca/homemade-wind-chimes/

Journey sticks from https://growingfamily.co.uk/craft/journey-stick-kids-nature-crafts/

Twig boat from https://www.easypeasyandfun.com/twig-boat-craft/#_a5y_p=5308774

Salt dough pebbles from https://wooloo.ca/2019/02/17/pate-a-sel/

Leaf printing on rocks from https://www.projectswithkids.com/easy-leaf-printing-on-rocks-autumn-craft/ 

Dandelion playdough from https://parentingchaos.com/wp-contentough-recipe.jpg/uploads/2018/05/diy-dandelion-playd

Mud Paint from https://www.daddilife.com/play-more-month/


Comments

Popular posts from this blog

Eco-friendly Upcycled Face Wipes

 I recently ran up some eco-friendly face wipes for a friend. These are designed to replace cotton pads or face wipes, and are washable. To increase their green credentials I made the pad section from an old towel. I had some charm squares spare, so used those as the backing fabric. I cut the towel into squares that were slightly smaller than the charm square, and wrapped the fabric over the towel piece to form a small border.  I then sewed the top fabric down with a zigzag stitch. This meant I was mainly sewing on the fabric, as my machine can't sew through towel (unless I haven't found the right setting or needle of course)! Very very simple, but pretty and functional! There are lots of tutorials for other ways to make these face wipes, such as:  https://www.arosetintedworld.co.uk/how-to-make-reusable-make-up-remover-pads/ It seems to be even more simple with an overlocker:  http://juliawithanh.com/sewing/23-reusable-face-pads You can even crochet some! https://dab...

Simple Drawstring Bag

Earlier today I made this little bag from a rectangle of scrap fabric. It's a very basic method - there are all sorts of ways this could be improved such as adding lining, a base or French seams. However, for a quick, easy make it works just fine! I wanted to make a little bag for a nerdy friend - what better than this awesome dice/RPG/DnD themed fabric (from Spoonflower ). I only had this rectangle left over from other projects. Step 1: give it a good iron! Step 2: fold in the ends, iron them down and pin. I folded them by 1/2 an inch. This fold will form the channel where the drawstring of the bag will go. Step 3: sew down the folds making sure to sew close to the raw edge of the fold so you have enough space to feed the ribbon through later. Now fold the fabric in half with right sides together. The edges you've already sewn should meet together at the top. Pin then sew up the open sides - make sure to stop at the fold or you'll sew up the channel for the ribbon! Step 4:...

Dressmaking Mishaps

Today I thought I would share some of the very basic mistakes I've realised I'm making when I sew clothes... I'm entirely self-taught and working things out as I go along, so there are lots of 'oops' moments. That's fine - learning to sew is helping me to confront my perfectionism and understand how valuable errors can be. Mishap Number 1 : This is so obvious that I'm cringing to think about it!! I'm not the most 3D thinker which means sometimes it's hard to visualise how patterns go together. I understand that sewing patterns are all about getting a flat cut out piece of fabric to shape and mould around a lumpy curvy human figure, but that theoretical understanding doesn't always translate to understanding why a pattern is doing something specific.  So I was making an Assembly Line Cuff Dress and trying to sew up the bodice and I was struggling to get the pattern pieces to match up in a way that felt 'right' to me, that is, I had the id...